Talk to Blender: build 3D scenes with Claude and MCP for Blender
MCP for Blender wires your LLM into Blender over a local socket: install the server, point your coding agent at it, and describe the scene you want. Every command below was run and verified — including a real render.
- The numbers: 34,770 stars, 3,175 forks, MIT license. The PyPI package was renamed from
blender-mcptomcp-for-blender; the old name still works. Server 1.30.0, addon 2.0, protocol version 16 — all observed during verification. - What it is: an MCP server (Python, run with
uvx) plus a Blender addon. They talk JSON over a TCP socket on localhost, port 9876. The server exposes ten tools, fromexecute_blender_codetolook. - Verified here: the full chain on Blender 4.5.16 LTS — install, addon, server boot, ten tools listed, scene queries, code execution, and two renders of a red cube (Workbench and EEVEE).
- Cost: the core flow needs no API key and no account. Keys are only needed for the premium model generators (Meshy, Tripo, Hunyuan3D, World Labs). Poly Haven assets are CC0 and keyless.
- The catch: the model writes Blender Python, so it can get details wrong — a bad attribute name fails cleanly, as I saw firsthand. The
lookandget_scene_infoloop is how you catch mistakes instead of shipping them.
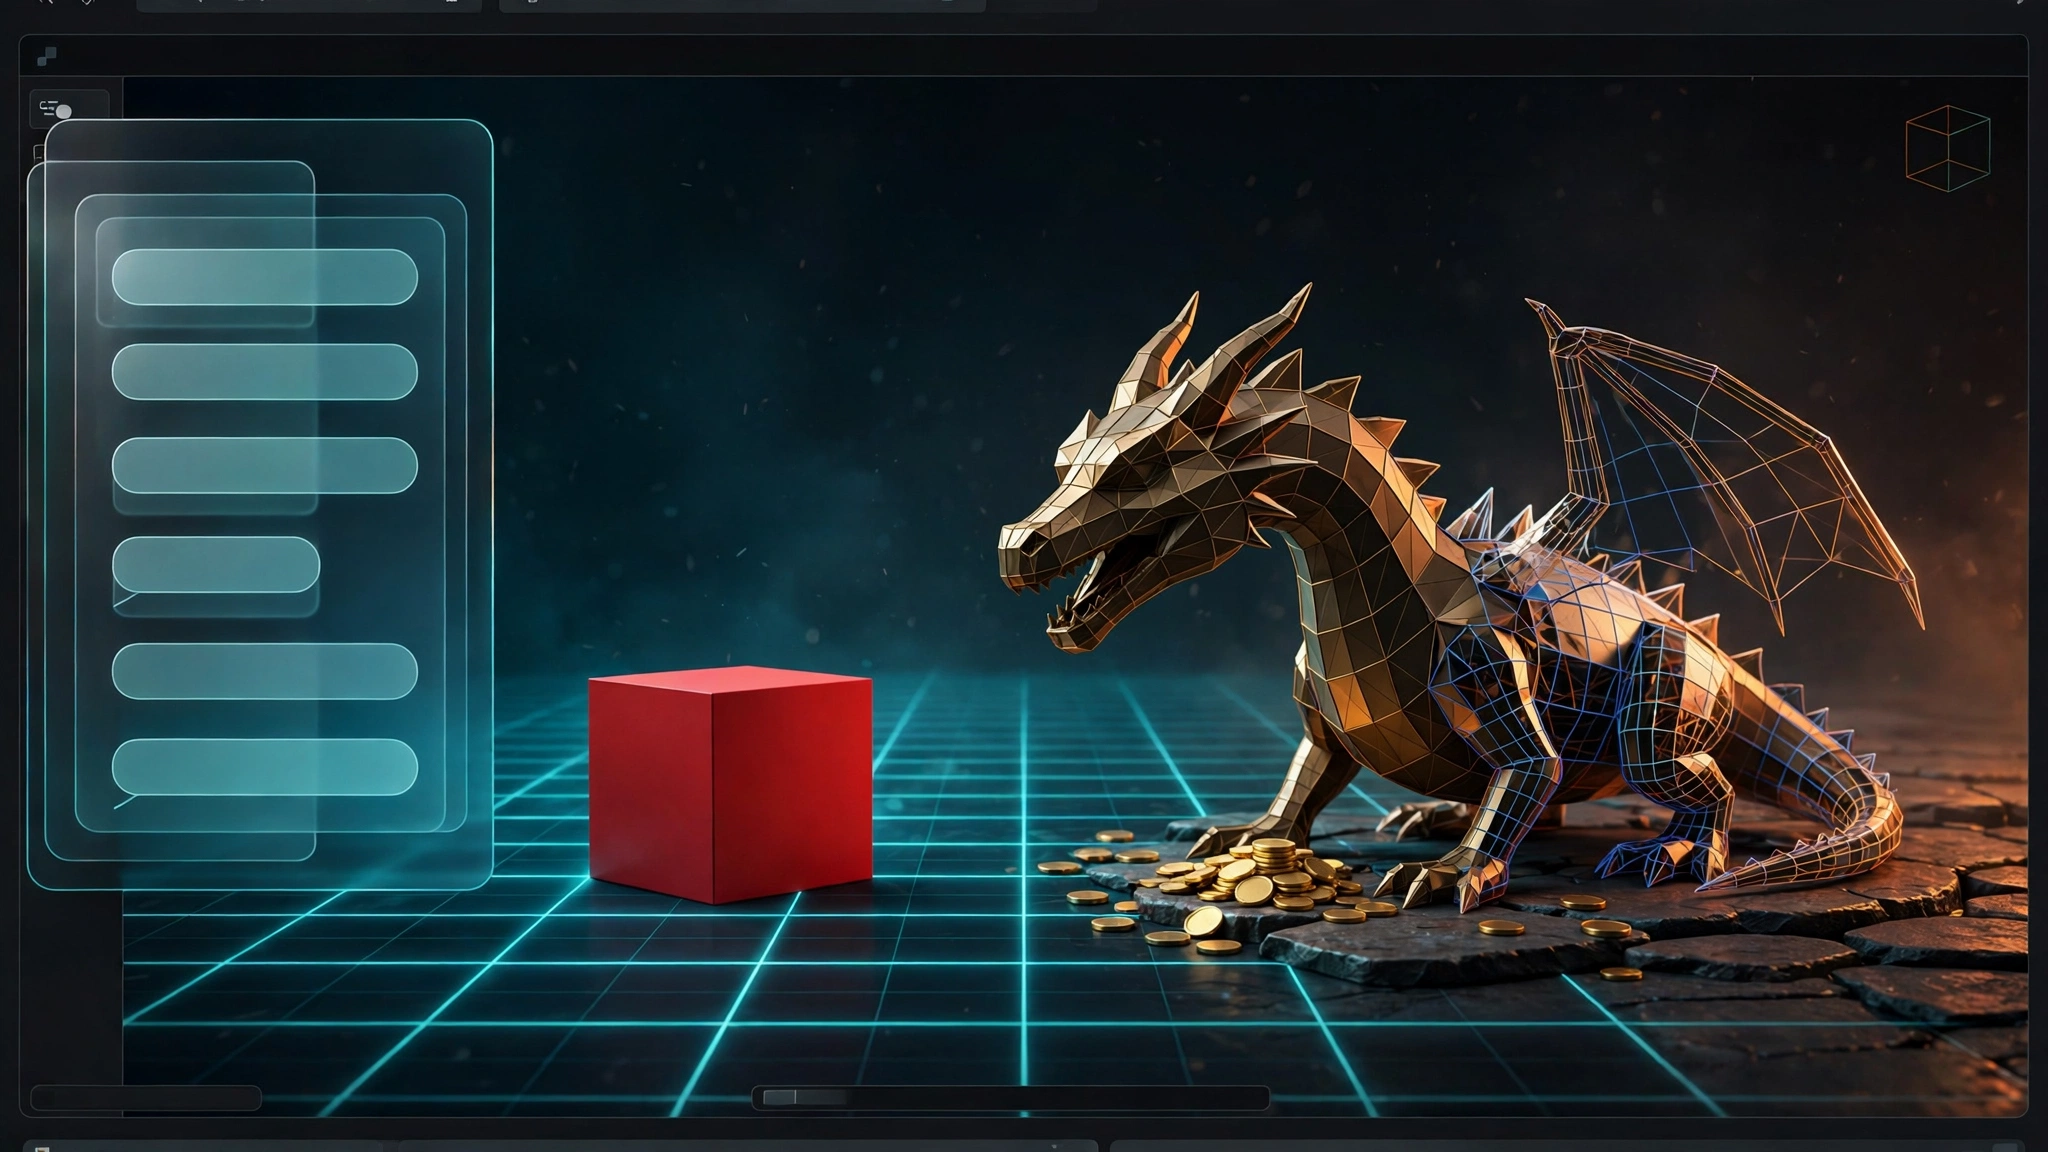
Last week a video of Claude building a Blender music video from a single prompt made the rounds, and the reaction split in two: amazement at what came out, and skepticism about the "one-shot" label. The skeptics had a point — a single prompt rarely lands a finished scene. What makes the demo interesting is not the prompt. It is the loop underneath it: the model writes Blender code, looks at the result, and fixes what is wrong.
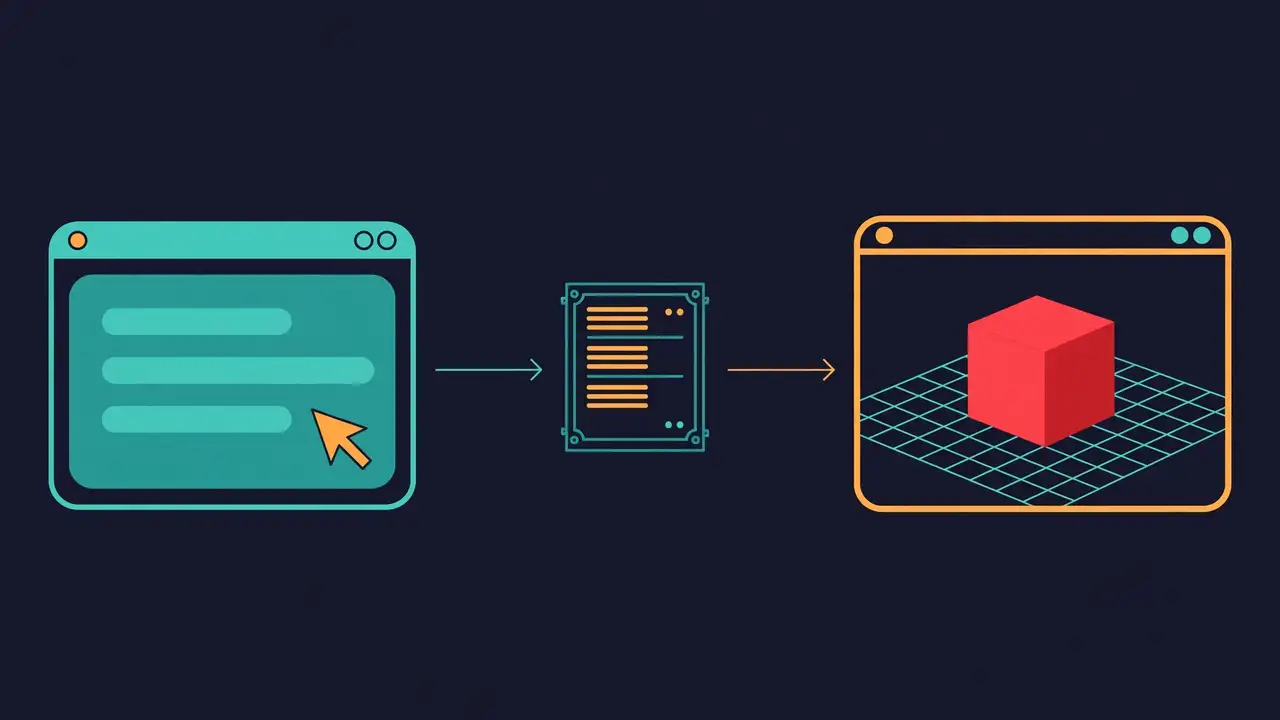
MCP for Blender is the open-source project that wires that loop up for anyone. It is a Model Context Protocol server plus a Blender addon, created by Siddharth and released under the MIT license. Your coding agent — Claude Code, Codex, Cursor, VS Code, OpenCode, or Claude Desktop — talks to the server, the server talks to Blender over a socket on your own machine, and Blender executes the code. The model can create and move objects, apply materials, set up cameras and lights, import free assets from Poly Haven and Poly Pizza, and generate 3D models from text through Meshy, Tripo, Hunyuan3D, or World Labs. Then it can look at the viewport and iterate.
It is also blowing up right now. The repository has 34,770 stars and gained 3,660 of them in the first 12 days of November. The rename from blender-mcp to mcp-for-blender marks the point where a side project became infrastructure: the new package is the one to install, and the old name is kept working as an alias. This tutorial installs it the way the project documents it, connects a real agent, and proves the chain works — I drove the exact tools your agent will call, with a scripted MCP client, and rendered the result. The prompts in step 4 are the project's own documented examples; the cube, the renders, and every command output below are from my own run.
What you'll need#
- Blender 3.0 or newer. I verified on Blender 4.5.16 LTS (download verified against Blender's published sha256). The one feature with a higher floor is World Labs Gaussian worlds, which need Blender 5.3 or newer.
- Python 3.10 or newer and the uv package manager. The project is explicit: install uv with the official installer, not
pip install uv, or theuvxcommand may not land on your PATH where your MCP client can find it. - An MCP client with a model. Claude Code, Claude Desktop, Codex, Cursor, VS Code, OpenCode, or Antigravity. The agent needs its own model and authentication — MCP for Blender is not a model, it is the bridge to Blender.
- No API keys for the core flow. Building scenes, querying the scene, and pulling Poly Haven assets need no key and no account. Keys enter only for premium model generation, covered in step 6.
- About 1 GB of free disk for Blender itself, plus a few hundred megabytes for uv's cached copy of the server. Nothing here compiles from source.
1. Install uv and the MCP server#
Install uv first, using the official installer for your platform. On macOS it is brew install uv; on Linux, the installer script; on Windows, winget install --id=astral-sh.uv -e. I ran the Linux installer:
curl -LsSf https://astral.sh/uv/install.sh | sh
uv --version
Expected output:
downloading uv 0.13.9 x86_64-unknown-linux-gnu
installing to /home/hatch/.local/bin
  uv
  uvx
everything's installed!
uv 0.13.9 (x86_64-unknown-linux-gnu)
Open a new shell so uvx is on your PATH, then confirm the server itself runs. This one command downloads the package (30 packages, a few seconds) and prints its help:
uvx mcp-for-blender --helpExpected output (abridged):
usage: mcp-for-blender [-h] [--host HOST] [--port PORT]
                       {install-addon,addon-paths,setup,update} ...

MCP for Blender server and addon installer

positional arguments:
  {install-addon,addon-paths,setup,update}
    install-addon       Copy the bundled addon.py into Blender's user addons
                        folder
    addon-paths         List discovered Blender user addons directories
    setup               Configure your MCP clients and install and enable the
                        Blender addon
    update              Update the MCP server and the installed Blender addon
                        to the latest release
Running uvx mcp-for-blender with no subcommand starts the MCP server on stdio — that is what your agent will spawn. With no arguments it listens for Blender on localhost:9876; --host and --port (or the BLENDER_HOST and BLENDER_PORT environment variables) change that. Do not run the bare command in your terminal and leave it there — your MCP client starts it for you. The troubleshooting note in the README is worth knowing early: sometimes the first command sent to Blender does not go through, and then it starts working. If a first call fails, retry it before assuming anything is broken.
2. Install the Blender addon#
The fastest path is the one-command setup, which configures every MCP client it finds and installs the addon:
uvx mcp-for-blender setupBefore running it for real, I ran it with --dry-run to see what it would change. On my machine it offered to configure Codex, Cursor, OpenCode, and Antigravity, and to install the addon into the newest Blender addons folder. It also reported that it could not find Blender — my copy was a portable tarball in a custom directory, not a standard install — and said it would print the manual enable step instead. That is the one case where setup cannot finish the job for you: if Blender lives somewhere non-standard, install the addon by hand:
uvx mcp-for-blender install-addonExpected output:
Installed MCP for Blender addon to /home/hatch/.config/blender/4.5/scripts/addons/blender_mcp.py. In Blender: Preferences → Add-ons → disable then enable 'Interface: MCP for Blender', or restart Blender, then click Start MCP Server.The command copies the bundled addon.py (334 KB) into your Blender user addons folder as blender_mcp.py and keeps a .bak of anything it replaces. If it cannot find your Blender install, point it at the folder yourself with BLENDERMCP_ADDONS_DIR=/path/to/scripts/addons, or run uvx mcp-for-blender addon-paths to see which folders it detected. Then open Blender, go to Edit → Preferences → Add-ons, and enable Interface: MCP for Blender. If it does not appear, use Install… and select the copied blender_mcp.py, or restart Blender.
Now start the addon's server. Press N in the 3D viewport to open the sidebar, find the MCP for Blender tab, and click Connect to Claude (the button the README calls "Start MCP Server"). The addon opens a socket server on localhost:9876 — I confirmed it listening there with a port check after starting it. Keep Blender open: the addon server dies with it. One detail that matters for later steps: the server runs on a background thread inside Blender, and commands are drained by a timer on Blender's main thread, so Blender needs its normal event loop running. A headless blender -b session that exits after a script will not serve requests; run Blender normally (under a virtual display if you are on a headless machine, as I did for verification).
3. Connect your agent#
If you ran setup, your clients are already configured — restart the agent app so it picks up the new server. Otherwise, add the server to your client by hand. The command is the same shape everywhere: spawn uvx mcp-for-blender. I verified the Codex path end to end (in a throwaway home directory, so nothing touched my real config):
codex mcp add blender -- uvx mcp-for-blenderExpected output:
Added global MCP server 'blender'.It writes exactly this into the Codex config:
[mcp_servers.blender]
command = "uvx"
args = ["mcp-for-blender"]
For Claude Code, the equivalent is claude mcp add blender uvx mcp-for-blender. For Claude Desktop, open Settings → Developer → Edit Config and add a blender entry to mcpServers:
{
    "mcpServers": {
        "blender": {
            "command": "uvx",
            "args": ["mcp-for-blender"]
        }
    }
}
Cursor, VS Code, OpenCode, and Antigravity take the same entry in their own MCP config files — setup writes them for you. Two gotchas from the README, both worth five seconds now rather than twenty minutes later. First, clients launched from a GUI (Claude Desktop, Cursor, VS Code from the dock) do not inherit your terminal's PATH, so a bare uvx can fail with spawn uvx ENOENT even though it works in your terminal. Fix it by putting the full path to uvx in command — find it with which uvx — or, on Windows, wrap it as "command": "cmd", "args": ["/c", "uvx", "mcp-for-blender"]. Second, if you have conda, pyenv, or asdf active, or a very new CPython, pin the interpreter in the server args: "args": ["--python", "3.11", "mcp-for-blender"] with "env": {"UV_PYTHON_PREFERENCE": "only-managed"}. After any config change, fully quit and relaunch the client — on Windows, quit from the system tray, not just the window.
To confirm the connection, ask your agent for the Blender tools (in Claude you will see a hammer icon) or check the server directly: it reported itself as MCP for Blender version 1.30.0 when I initialized it, and listed ten tools. If the tools do not appear, check the two things that go wrong most often: Blender is not open, or the addon server is not started.
4. Build your first scene by talking#
With Blender open, the addon server running, and the agent connected, describe what you want in plain language. The project's own example prompts are a good first run:
"Create a low poly scene in a dungeon, with a dragon guarding a pot of gold"
"Create a beach vibe using HDRIs, textures, and models like rocks and vegetation from Poly Haven"
"Make this car red and metallic"
"Create a sphere and place it above the cube"
Behind each prompt, the agent is doing the same thing my verification client did: calling the MCP tools. The core one is execute_blender_code, which runs Python in your live Blender. Here is the exact code I ran through the MCP server to prove the chain — a red cube, a camera, and a sun light — and the exact result that came back:
import bpy
bpy.ops.mesh.primitive_cube_add(size=2, location=(0, 0, 1))
cube = bpy.context.active_object
cube.name = 'PaxCube'
mat = bpy.data.materials.new(name='PaxRed')
mat.use_nodes = True
mat.node_tree.nodes['Principled BSDF'].inputs['Base Color'].default_value = (0.8, 0.1, 0.1, 1.0)
cube.data.materials.append(mat)
bpy.ops.object.camera_add(location=(7, -7, 5), rotation=(1.1, 0, 0.785))
bpy.context.scene.camera = bpy.context.active_object
bpy.ops.object.light_add(type='SUN', location=(5, -5, 10))
scene = bpy.context.scene
scene.render.engine = 'BLENDER_WORKBENCH'
scene.render.filepath = '/tmp/pax_cube.png'
scene.render.resolution_x = 640
scene.render.resolution_y = 360
bpy.ops.render.render(write_still=True)
print('RENDERED PaxCube')
The tool returned:
Code executed successfully: RENDERED PaxCubeThat is the whole mechanism in one call: the agent writes ordinary Blender Python, the addon executes it, and the result comes back as text. Your agent does the same thing, except it writes the code itself from your description and iterates when something fails. And failures do happen — my own EEVEE attempt first failed on a wrong attribute name (scene.eevee.use_soft_shadows does not exist in Blender 4.5), and the error came back through the MCP chain with the full traceback and the addon file and line number. The model sees that, fixes the call, and retries. That error path is part of the product: a tool that only works when the code is perfect would be useless, because generated Blender code is rarely perfect on the first try.
5. See what the model sees#
A model that cannot inspect its work cannot fix it. Two tools close the loop. get_scene_info returns a compact summary — one line per object, with placement, materials, and topology — and look returns images of the scene from the viewport, the camera, auto-framed multi-angle sheets, or animation strips, drawn solid, material, rendered, wireframe, or X-ray. Before my cube existed, the scene summary was:
Scene 'Scene' | 1 camera, 1 light, 1 mesh | active Cube | selected Cube | mode OBJECT

Showing 3 of 3 (name | type | location | size | hidden | children):
Cube | mesh | at (0.0, 0.0, 0.0) | size 2.0x2.0x2.0
Light | light | at (4.08, 1.01, 5.9)
Camera | camera | at (7.36, -6.93, 4.96)
After the code in step 4 ran, the same call reported six objects, including the new one:
Scene 'Scene' | 2 camera, 2 light, 2 mesh | active Sun | selected Sun | mode OBJECT

Showing 6 of 6 (name | type | location | size | hidden | children):
Cube | mesh | at (0.0, 0.0, 0.0) | size 2.0x2.0x2.0
Light | light | at (4.08, 1.01, 5.9)
Camera | camera | at (7.36, -6.93, 4.96)
PaxCube | mesh | at (0.0, 0.0, 1.0) | size 2.0x2.0x2.0
Camera.001 | camera | at (7.0, -7.0, 5.0)
Sun | light | at (5.0, -5.0, 10.0)
get_addon_status is the health check to run when something feels off. It returned up_to_date: true, protocol_version: 16, and addon_version: [2, 0] on my run — if your addon is behind the server, this is where you find out, and uvx mcp-for-blender@latest update is the fix. The look tool returned a viewport image on my run as well. Use it the way the project intends: after each build step, ask the model to look and describe what is wrong, then let it correct the placement, the proportions, or the lighting before moving on. That is the difference between the viral one-shot videos and a scene you would actually keep.
6. Light it with free assets#
Generated geometry gets you a scene; real-world assets make it look finished. Two sources are built in, and both are free. Poly Haven publishes around 2,400 HDRIs, textures, and models, all CC0 — no account, no API key, no rate limit worth worrying about. The project's worked example is the fastest way to see the point:
"Light the scene with an overcast afternoon HDRI and put a rusty metal texture on the wall"For that prompt, the agent calls search_assets(source="polyhaven", query="overcast afternoon", asset_type="hdris"), which matches intent rather than keywords — "couch" finds sofas, and it works in any language — then import_asset(source="polyhaven", id="...", asset_type="textures", apply_to=["Wall"]) downloads the texture and applies it in one call. HDRIs are packed into the file, so the lighting survives being saved and reopened elsewhere. Poly Haven's API terms ask that software built on it names the source, so the search and import responses name it and link the asset page, and the import writes polyhaven_id, polyhaven_url, and the licence onto the imported objects as custom properties.
Poly Pizza is the second source: roughly 10,600 free low-poly models, including the rescued Google Poly archive, each a single self-contained .glb. It needs a free API key from poly.pizza/settings/api, pasted into the sidebar or stored in the addon preferences. The licence split matters here: about 69% of the catalogue is CC-BY, which requires credit wherever the model appears. The import writes the ready-formatted credit line onto each root object as the custom property polypizza_attribution, so it is saved into your .blend. Filter with licence="CC0" if you would rather use models that need no credit. Sketchfab models come through the same two tools.
One thing I verified the hard way: the asset tools run through the Blender addon, not the MCP server alone. With no Blender connected, search_assets returns a clear error: "Could not connect to Blender. Make sure the Blender addon is running." So if an asset call fails, check step 2 before anything else. Two more practical notes from the README: asset downloads happen on Blender's main thread, so the UI freezes until the transfer finishes — ask for 1k or 2k textures unless the asset sits close to the camera, since file size grows roughly fourfold per resolution step. And Poly Pizza's CDN sits behind bot protection that blocks datacenter, VPN, and cloud IPs; if a download fails with a Cloudflare challenge, retry from a normal connection or download the .glb by hand and import it with File → Import → glTF 2.0.
The paid options live behind the same two tools. generate_3d generates and imports a model with Tripo, Hunyuan3D, Hyper3D Rodin, or Meshy; generate_gaussian_world generates a whole explorable World Labs environment and imports it as Gaussian splats (Blender 5.3 or newer). Both run through Premium with no key, or on your own API keys, which you paste into the sidebar or store in the addon preferences — or inject as environment variables (BLENDERMCP_MESHY_API_KEY, BLENDERMCP_TRIPO_API_KEY, and friends) for headless setups. Your own Meshy key needs a paid Meshy plan; Tripo's free trial key is available in main-site mode. Start with the free sources. The generators are for the moment when a scene needs a specific object that no free catalogue has.
7. Render and save#
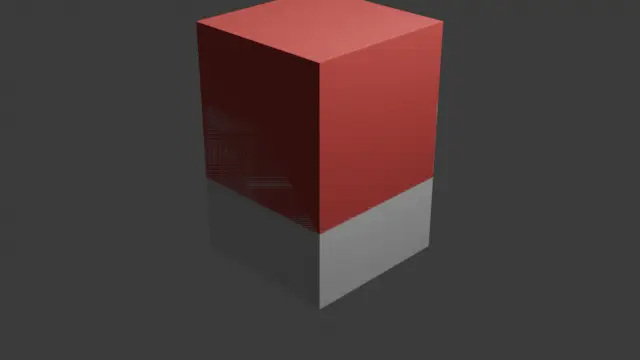
Rendering is where the engine choice shows. My cube scene rendered twice. With BLENDER_WORKBENCH it came out grey: Workbench is a fast viewport-style renderer that ignores Principled material colors, so the red I assigned never appeared. With BLENDER_EEVEE_NEXT the same scene rendered red, correctly — the image above is that EEVEE render. The cost of EEVEE without a GPU is time: the frame took 1 minute 59 seconds under software rendering on a headless virtual machine with no graphics card at all. On a machine with a GPU the same frame takes seconds, and Cycles is available the same way if you want path-traced quality. Set the engine and output in code, as in step 4, or from the agent with a plain-language ask ("render this with EEVEE at 1280 by 720") and let it write the settings.
Save the scene before you close Blender. The agent can do it — bpy.ops.wm.save_as_mainfile(filepath='/tmp/pax_scene.blend') is one line — and a saved .blend keeps everything: the objects, the materials, the Poly Haven custom properties, and the attribution lines. Keep the telemetry question in mind while you work: content collection is opt-in and off by default, and the minimal anonymous usage record (install ID, session ID, tool name, success, duration, versions, OS, timestamp) is what is sent unless you turn it off entirely with DISABLE_TELEMETRY=true, either as an environment variable when launching the server or in your MCP client config. And remember the two warnings that apply to any tool that runs code in your 3D app: execute_blender_code runs arbitrary Python in Blender, so save your work before a long session, and the addon's remote-access mode has no authentication or encryption — leave it on localhost and use an SSH tunnel if you ever need another machine to reach it, never the public internet.
When to use this vs alternatives#
- Use MCP for Blender when the scene is the product. Short films, product shots, game levels, architectural visualization, and the "make me a dungeon" class of creative briefs are its home ground. The look-and-fix loop is the feature: you iterate in words and the model checks its own work visually.
- Write Blender Python by hand when precision matters more than speed. If you know exactly what you want — a parametric model, a rig, a simulation setup — a script you wrote and version-controlled beats a conversation. The agent is a drafting partner, not a replacement for knowing the API.
- Use text-to-cad when the output is a physical object. Text-to-CAD tools produce STEP files and engineering drawings for 3D printing and manufacturing; MCP for Blender produces scenes and renders. Different output, different tool. We covered text-to-cad separately.
- Use Meshy or Tripo directly when you need one model, not a scene. Their web apps generate a single textured model from text or an image faster than routing the same request through Blender. Come back to MCP for Blender when that model needs to live inside a larger scene with lighting, cameras, and other objects.
- Do not judge it by the one-shot demos. The viral videos show a single prompt producing a finished clip. Real sessions look like the loop in steps 4 and 5: prompt, inspect, correct, render. The tool is honest about that — its own README lists the troubleshooting cases (first command dropped, timeouts on complex requests, UI freezes on big downloads) instead of hiding them.
The takeaway#
MCP for Blender earns its star count for a simple reason: it removes the one thing that kept most people out of Blender, which is Blender itself. You still need to know what a good scene looks like — the model will happily build you a bad one — but you no longer need to know which menu holds the bevel modifier or how to write a Principled material node tree from memory. Describe the scene, watch the model build it, ask it to look, and correct what is wrong. The install takes about ten minutes: uv, one setup command, the addon, and a line in your agent's config. The first scene takes one sentence. Everything after that is iteration, and iteration is the part the tool is actually good at.
Sources#
- MCP for Blender on GitHub — repository, README, install and usage docs, tool list, troubleshooting (MIT)
- mcp-for-blender.com — project site, one-line installer, premium model generation
- Blender download — Blender 4.5.16 LTS, verified against the published sha256 for this tutorial
- Poly Haven — CC0 HDRIs, textures, and models used by the asset tools, no account required